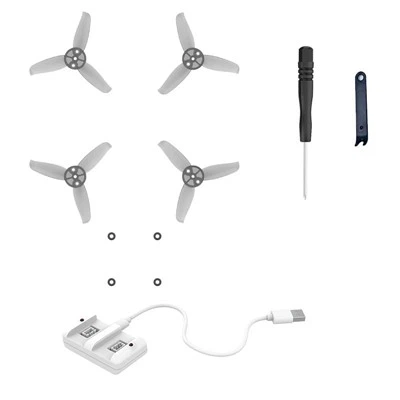
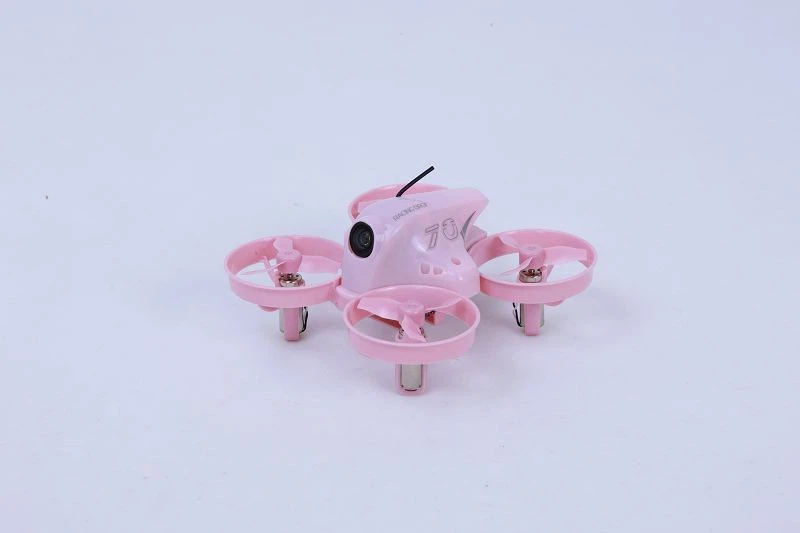
Editing videos taken by a mini FPV (First-Person View) drone can transform raw footage into captivating visual stories. As a supplier of mini FPV drones, including models like the G-129 Brushless Whoop Quadcopter, FPV Drone with Shouting Device, and FPV Drone Kit with Goggles Pink, I understand the importance of making the most out of the footage these drones capture. In this blog, I'll share some tips and techniques on how to edit mini FPV drone videos effectively.
1. Organize Your Footage
The first step in video editing is to organize your raw footage. When you've flown your mini FPV drone and captured a lot of clips, it can be overwhelming. Start by creating a folder structure on your computer. You can have a main folder for the project and sub - folders for different types of shots, such as wide - angle views, close - ups, or shots from different locations.
Label each clip with a descriptive name. For example, if you took a shot of a park at sunset, name the clip "Park Sunset". This will make it easier to find the clips you need during the editing process. You can also add metadata to the clips, such as the date, time, and location of the shot.
2. Choose the Right Editing Software
There are many video editing software options available, both free and paid. For beginners, free software like DaVinci Resolve Lite or Shotcut can be great choices. DaVinci Resolve Lite offers a wide range of features, including color correction, audio editing, and basic effects. Shotcut is also user - friendly and has a simple interface.
If you're more experienced and need advanced features, paid software like Adobe Premiere Pro or Final Cut Pro X might be more suitable. These software packages offer professional - grade tools for video editing, such as advanced color grading, multi - camera editing, and integration with other Adobe or Apple software.
3. Select the Best Clips
Once you've organized your footage, it's time to select the best clips for your video. Look for clips that have interesting subjects, smooth camera movements, and good lighting. You can use the software's preview function to watch each clip and decide whether to include it in your final video.

It's also important to consider the flow of the video. You want to create a sequence of clips that tells a story or conveys a message. For example, if you're making a video about a drone flight over a city, you might start with a wide - angle shot of the city skyline, then move on to close - up shots of buildings and people, and end with a shot of the drone flying away.
4. Trim and Cut Clips
After selecting the clips, you need to trim and cut them to remove any unwanted parts. Most video editing software allows you to use the playhead to mark the start and end points of each clip. You can then delete the parts of the clip that you don't want.
Trimming clips can help to make your video more concise and engaging. It also allows you to remove any shaky or blurry parts of the footage. For example, if there was a moment when the drone was adjusting its position and the footage was a bit unstable, you can trim that part out.
5. Add Transitions
Transitions can make your video look more professional and smooth. There are many types of transitions available in video editing software, such as fades, wipes, and dissolves. You can use transitions to connect different clips and create a seamless flow between them.
However, it's important not to overuse transitions. Too many transitions can make your video look cheesy and distract the viewer from the content. Use transitions sparingly and choose ones that are appropriate for the style of your video.
6. Color Correction and Grading
Color correction and grading can significantly enhance the visual appeal of your video. Color correction involves adjusting the colors in the footage to make them look more natural and accurate. This can include adjusting the brightness, contrast, saturation, and white balance.
Color grading, on the other hand, is more about creating a specific mood or style for your video. You can use color grading to make your video look more vibrant, moody, or vintage. Many video editing software packages offer presets for color grading, or you can create your own custom settings.
7. Add Audio
Audio is an important part of any video. You can add background music, sound effects, and voice - overs to your video to make it more engaging. When choosing background music, make sure it matches the mood and style of your video. You can find royalty - free music online from websites like AudioJungle or Epidemic Sound.
Sound effects can also enhance the realism of your video. For example, if you're making a video of a drone flying over a forest, you can add the sound of birds chirping or leaves rustling. Voice - overs can be used to provide additional information or narration for your video.
8. Export Your Video
Once you've finished editing your video, it's time to export it. When exporting, you need to choose the right file format and settings. The most common file formats for video are MP4 and MOV. These formats are widely supported by most devices and platforms.
You also need to consider the resolution and bitrate of your video. Higher resolutions and bitrates will result in better - quality videos, but they will also take up more storage space. Make sure to choose settings that are appropriate for your intended audience and platform.
Contact for Procurement
If you're interested in purchasing our mini FPV drones, such as the G-129 Brushless Whoop Quadcopter, FPV Drone with Shouting Device, or FPV Drone Kit with Goggles Pink, please feel free to contact us for further details and procurement discussions. We are always ready to provide you with high - quality products and excellent service.
References
- "Video Editing for Beginners" by Jane Smith, published by Video Pro Press.
- "The Art of Color Grading" by John Doe, available at local bookstores.
- Online tutorials on video editing software websites, such as Adobe Premiere Pro and DaVinci Resolve.